- Double loop crochet Santa beanie pattern – infant to adult

- How to make an extra EXTRA large yarn pom pom
- Creative Christmas Crochet and Knit Ideas
- sunshine pillow crochet pattern
- Lacy Shell Stitch Shrug Crochet Pattern
- Crochet Fox Ear Headband Pattern
- Crochet Eyelet Apron Pattern
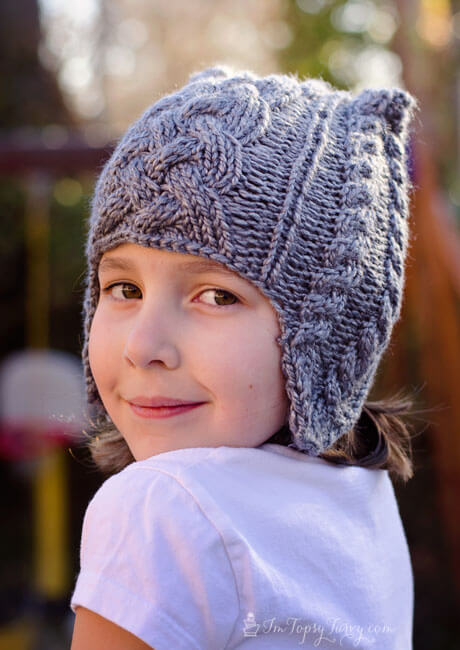
- Cable Knit Beanie pattern with earflaps- child

- Sailor’s Knot Crochet Belt
- Double Loop Crochet Santa Beard Pattern – multiple sizes
- Crochet Bobble Beard pattern – multiple sizes
- Crochet Striped Beanie Pattern- multiple sizes
- Crochet Mohawk Hat Pattern Free
- Crochet Baby Shell Beanie Pattern & extra large flower
- Striped skull baby beanie
- Crochet Baby Sandals Pattern
- Thread Crochet Rose Ring pattern
- Rainbow Chevron Crochet Scarf Pattern
- St Patricks day- Pot of gold cake & crochet baby top hat
- knit cable scarf pattern
- Crochet Mini Top Hat Pattern- boys and girls
- Crochet magic ring start
- Crochet wrap around button infant boots- girls and boys
- Crochet wrap around button baby boots- girls and boys
- Crochet Fingerless Gloves
- Knit Reindeer Beanie
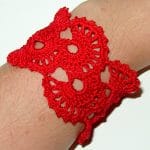
- Queen Anne’s lace crochet tutorial – bracelet
- Abba 70’s “You can dance” party and game review
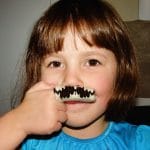
- Knit Finger-stache tutorial
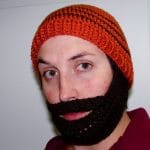
- Crochet beard beanie
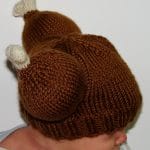
- Thanksgiving knit turkey hat
- Thread crochet baby crown pattern
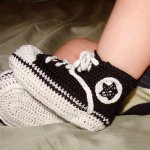
- Thread Crochet Baby Converse Pattern free
- crochet baby cocoon for photo shoots
- pumpkin crochet hat
- Crochet baby munchkin hat
- Baby Boy newborn pictures
- Crochet children’s Elephant hat- Curtsay- Pinterest sponsor
- Striped Knit newborn hat
- Crochet button necklace or bracelet
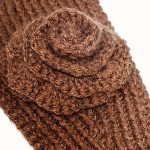
- Knit Ear Warmer Pattern with Flower Crochet
- Crochet Capelet
- Crochet toys
- Thread crochet blessing dress
- thread crochet beaded Socks!
- Crochet baby blankets
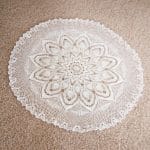
- Thread Crochet tablecloth
![]()