- Wood Burning Kitchen Conversion Chart Cutting Board – Homemade Cricut Stencil

- Glitter Name Topper – Oscars party
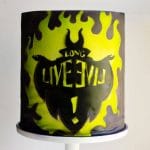
- Disney Descendants Long Live Evil Graffiti cake tutorial
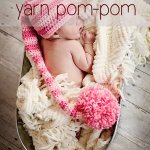
- How to make an extra EXTRA large yarn pom pom
- Free Printable Summer Vacation Countdown Calendar

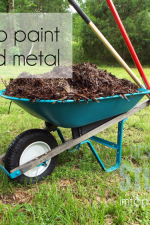
- How to Paint Rusted Metal
- Frozen Party Supplies – Snowflake Backdrop
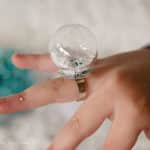
- Frozen Snow Globe Rings
- Frozen Fake Snow
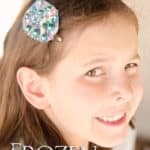
- Frozen Snowflake Hair Clips
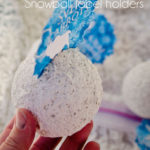
- Frozen Party Supplies – Snowballs
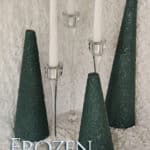
- Frozen Party Supplies – Styrofoam Pine Trees
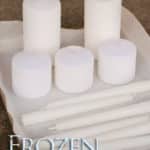
- Frozen Party Supplies – Candles
- Snow Globe Frozen Invitations
- Paper Mache Jewelry Tray Tutorial
- How to Install a Water Line for a Refrigerator
- Braided & Beaded Bracelet
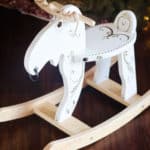
- Christmas Rocking Moose with Sharpies
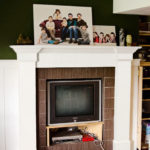
- Build your own Mantel
- how to dye voile curtains ombre
- Bulky flower hearts felt scarf tutorial
- Organizing my Spice Rack
- How to change out your door knobs
- Crochet Mohawk Hat Pattern Free
- Marriage and Birth certificate family wooden puzzle
- Neon Paper Dahlia
- Washi Tape Crafts
- Full Sized Candy Land Yard Game
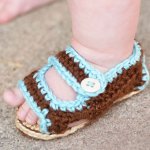
- Crochet Baby Sandals Pattern
- Thread Crochet Rose Ring pattern
- Mothers Day gift- Family Tree Canvas
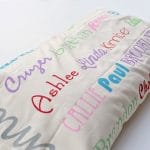
- Mothers day gift- Family subway art pillow case
- Teacher appreciation Canvas art
- Rainbow Chevron Crochet Scarf Pattern
- knit cable scarf pattern
- Crochet Mini Top Hat Pattern- boys and girls
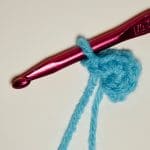
- Crochet magic ring start
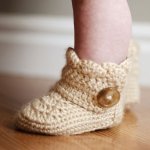
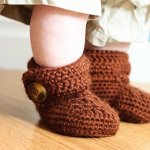
- Crochet wrap around button infant boots- girls and boys
- Crochet wrap around button baby boots- girls and boys
- Oversized Ruffled headband
- Crochet Fingerless Gloves
- Knit Reindeer Beanie
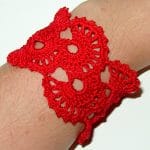
- Queen Anne’s lace crochet tutorial – bracelet
- Lit up canvas wall decor- Elmers look for less
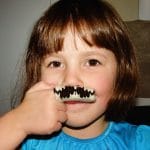
- Knit Finger-stache tutorial
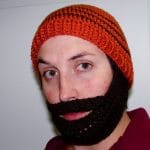
- Crochet beard beanie
- Thread crochet baby crown pattern
- Double Trellis Wall Stencil
- Child’s Silhouette Shirt
- Dr Seuss birthday party book invitation
- Ruler Growth Chart
- Ruffled camera strap
- How to create a watermark action in photoshop
- DIY Aqua Sand Birthday kit
- seatbelt purse tutorial
- Transforming my bootcut jeans into Skinny Jeans
- Stamped party plates
- Pom Pom hair clips
- Drop cloth pleated triangle pillow
- Denim Herringbone Pillow
- Satin Pin-tucked pillow
- Ruffled pillow (from a bed-skirt)
- Elastic gathered sweater pillow
- Rosette Sweater Pillow
- Milk Glass Cake stand
- Mercury glass cake stand
- Living room Board and Batten
- Mercury Glass Star Ornaments
- Crochet button necklace or bracelet
- Quilted Ruffled Tree Skirt
- Quilt binding
- Quilted Ruffled Stockings
- Puffy Paint tutorial
- Ruffled Felt Flower Hair Clip
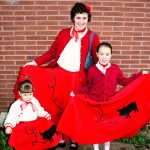
- Poodle-skirt tutorial, 50’s costumes
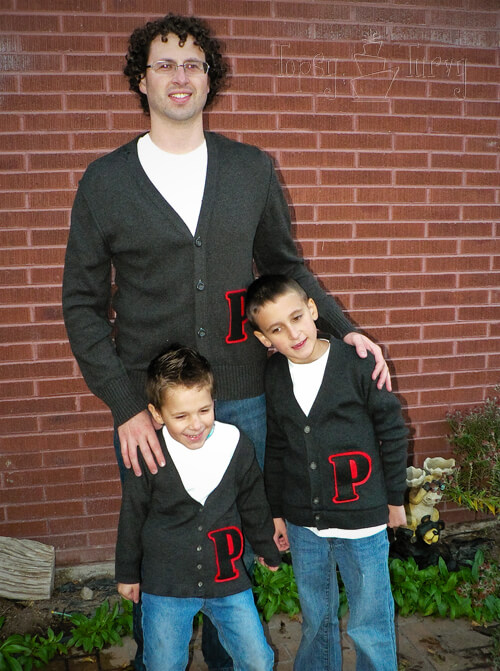
- Letterman’s cardigan tutorial, 50’s costume

- Dremel etching glass votive’s tutorial
- Dremel Etching- glass votive’s
- Tokens and chore chart
- Canvas Indiana Jones Satchels for the party
- Felt Flower headband
- Antique window turned into a table!
- Rainbow birthday party ruffled tablecloth
- Replacing Glass in an old window
- Rainbow party butterfly garland
- Photo clock
- Ruffled ombre adult shirt
- New kid’s shirt using Elastic thread
- Making my own cake stand
- Make your own personalized ribbon!
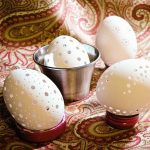
- “Holey” Egg decorations!
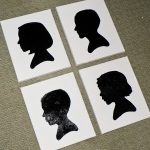
- Kids silhouette canvas art
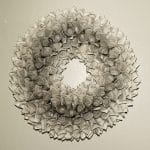
- Book pages wreath
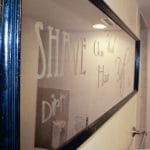
- Etching bathroom Mirror!
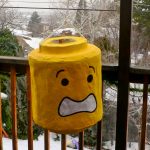
- Lego Head Pinata!
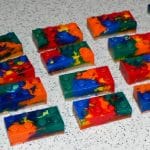
- Lego Crayons
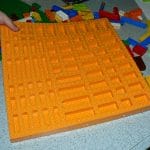
- Lego Mold
![]()