Skip to primary navigation
Skip to main content
Skip to primary sidebar
Skip to footer
Recipes
Main Dish
Desserts
Breakfast
Sides
Bread
Soups & Salads
Drinks
Food Tutorials
Cakes
Cake Recipes
Cake Tutorials
Carved Cakes
Wedding Cakes
Smash Cakes
Party Cakes
How to Video Series
Parties
Complete Parties
Party Cakes
Party Food
Party Crafts & Decorations
Printables
Invitations
Holidays
Valentines
St. Patricks Day
Easter
Cinco De Mayo
Mothers Day
4th of July
Halloween
Thanksgiving
Christmas
Travel
Culinary Travel – Cooking Schools
Family Travel
Disney
Universal Studios
Blogger Trips
Videos
Recipe Videos
Short Videos
Kitchen Tip Videos
Video equipment links
Crafts
How to & Craft Tutorials
Crochet & Knit Patterns
Decorations
Photoshop
Sewing Projects
Shop
Video equipment links
Baking and Kitchen equipment
Search
Home
»
Cakes
carved
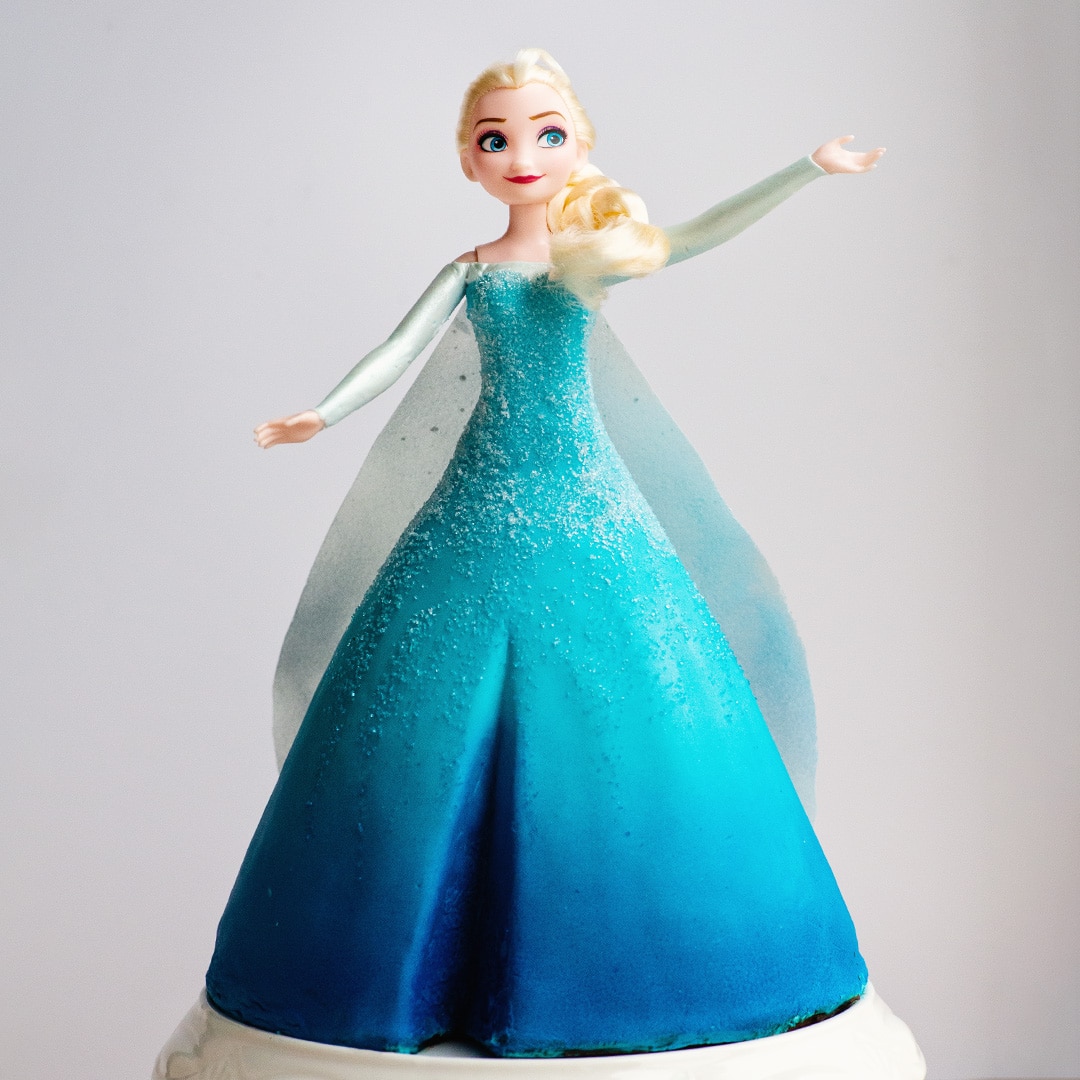
Frozen Princess Cake Elsa
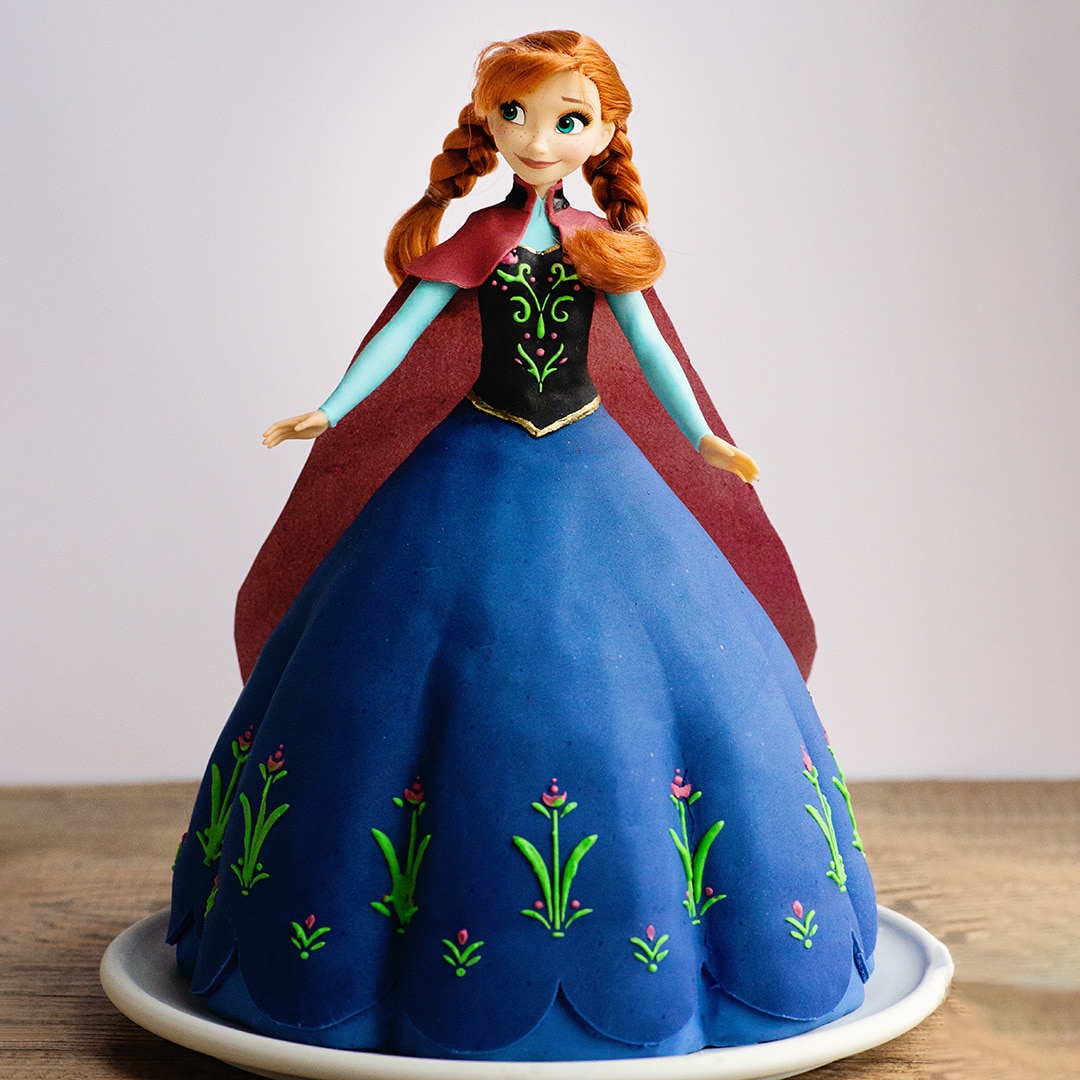
Frozen Princess Cake – Anna
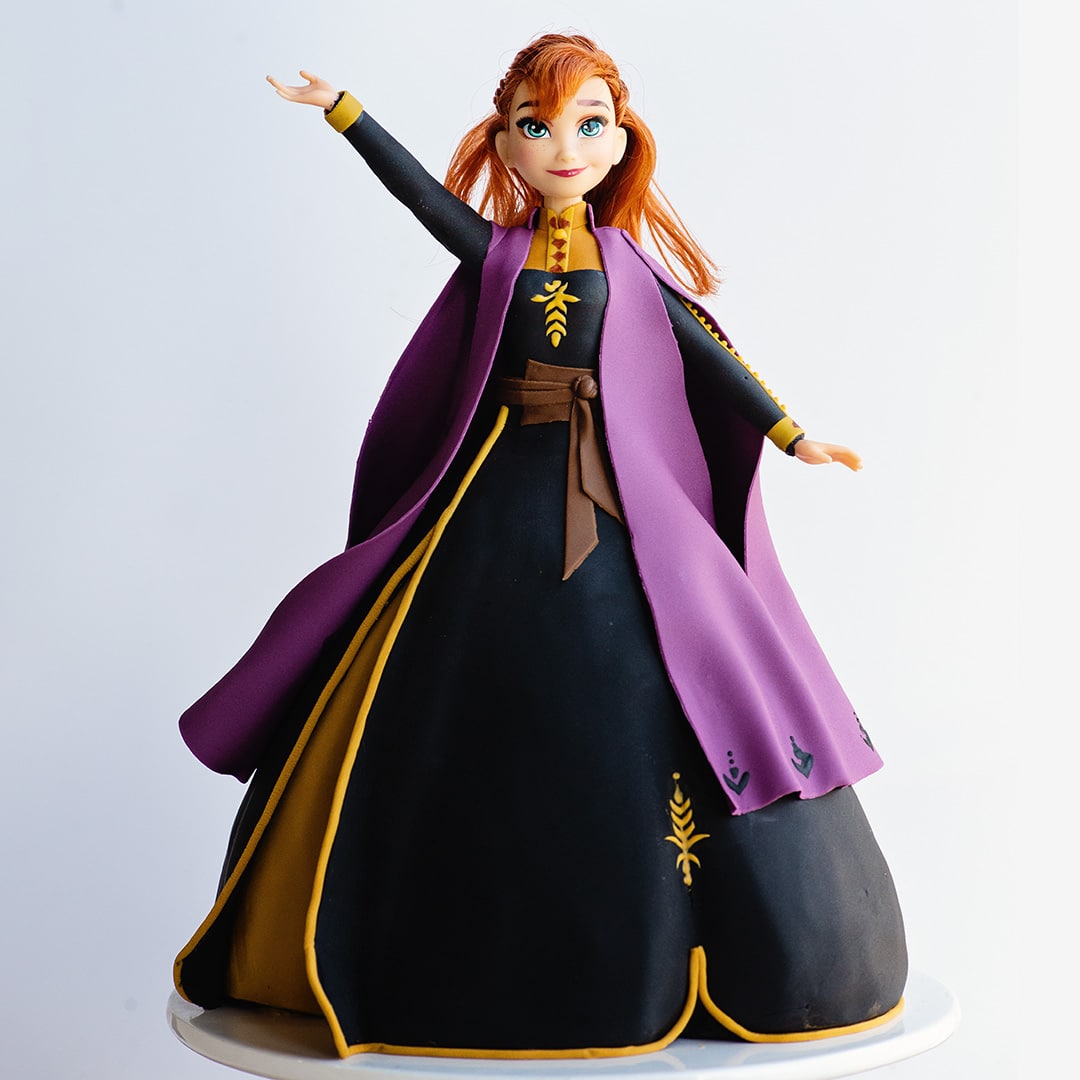
Frozen 2 Anna Princess Cake Video Tutorial
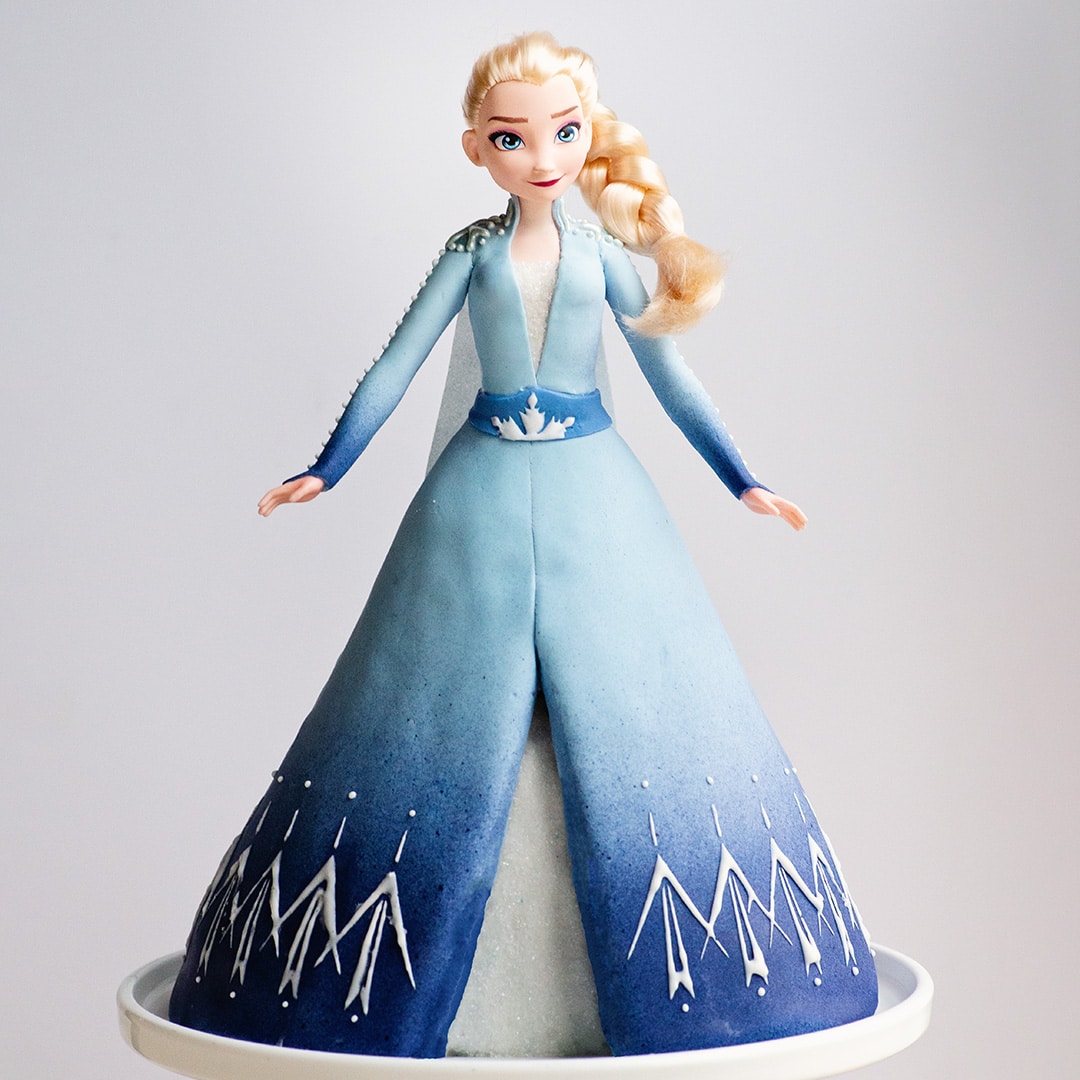
Frozen 2 Elsa Princess Cake Video Tutorial
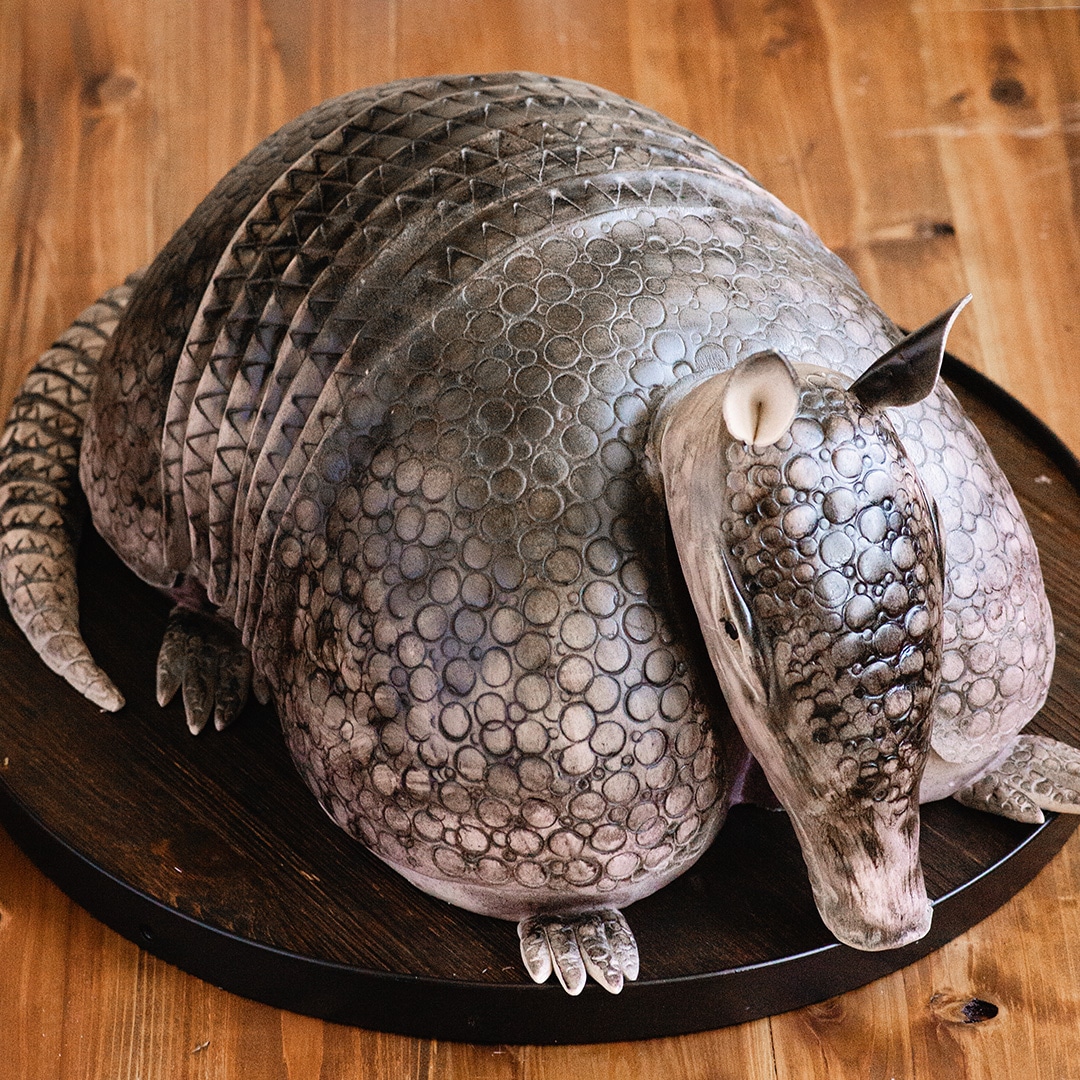
How to make an Armadillo Cake
Page
1
Page
2
Page
3
Interim pages omitted
…
Page
14
Go to
Next Page »
Recipes
Main Dish
Desserts
Breakfast
Sides
Bread
Soups & Salads
Drinks
Food Tutorials
Back
Cakes
Cake Recipes
Cake Tutorials
Carved Cakes
Wedding Cakes
Smash Cakes
Party Cakes
How to Video Series
Back
Parties
Complete Parties
Party Cakes
Party Food
Party Crafts & Decorations
Printables
Invitations
Back
Holidays
Valentines
St. Patricks Day
Easter
Cinco De Mayo
Mothers Day
4th of July
Halloween
Thanksgiving
Christmas
Back
Travel
Culinary Travel – Cooking Schools
Family Travel
Disney
Universal Studios
Blogger Trips
Back
Videos
Recipe Videos
Short Videos
Kitchen Tip Videos
Video equipment links
Back
Crafts
How to & Craft Tutorials
Crochet & Knit Patterns
Decorations
Photoshop
Sewing Projects
Back
Shop
Video equipment links
Baking and Kitchen equipment
Back
× Close Panel